Last night I stamped just for fun and came up with this.... I used the sketch from Mojo Monday and actually got a card made in the same week! That's a first for me! This cute little image was in the $1 bin at JoAnns yesterday and I couldn't resist.
 And you'll remember these from my post yesterday for the new release over at Pink Cat Studio. Below I have the tutorial I promised.
 These post-it note holders are super easy and just take minutes to make.
Start with a sheet of cardstock that measures 3 3/8" x 9 1/4".
Score it along the long side at 3 3/8", 3 3/4" and 7 3/4".
 If you want a decorative edge on the closure, use your punch on the edge shown below.
 Fold on all of the score lines and apply red sticky tape (or any very strong adhesive) as shown. This will hold down the very bottom of your decorative edge so your projects closes like a matchbook.
 Fold up the bottom edge.
Then apply two pieces of red sticky tape where shown. This will hold down your post-it note pad. Can you tell that I was using the last of my sticky tape for this project?
 Adhere your post-it pad in place right under the second score mark as shown.
 Now fold over the top cover and tuck under the decorative edge.
 Now you're ready to decorate and embellish your little heart out.

 I used the sketch from Mojo Monday and actually got a card made in the same week! That's a first for me! This cute little image was in the $1 bin at JoAnns yesterday and I couldn't resist.And you'll remember these from my post yesterday for the new release over at Pink Cat Studio. Below I have the tutorial I promised. These post-it note holders are super easy and just take minutes to make.
Start with a sheet of cardstock that measures 3 3/8" x 9 1/4".
Score it along the long side at 3 3/8", 3 3/4" and 7 3/4".
 If you want a decorative edge on the closure, use your punch on the edge shown below.
 Fold on all of the score lines and apply red sticky tape (or any very strong adhesive) as shown. This will hold down the very bottom of your decorative edge so your projects closes like a matchbook.
 Fold up the bottom edge.
Then apply two pieces of red sticky tape where shown. This will hold down your post-it note pad. Can you tell that I was using the last of my sticky tape for this project?
 Adhere your post-it pad in place right under the second score mark as shown.
 Now fold over the top cover and tuck under the decorative edge.
 Now you're ready to decorate and embellish your little heart out.


 There's no such thing as TOO much glitter is there??
 I used a very different color scheme on this one. My buddy
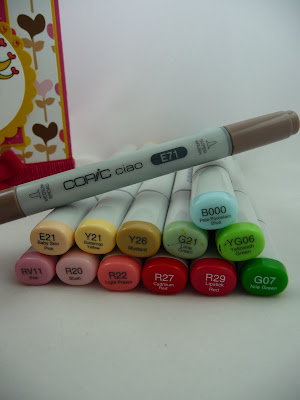
  Just in case you missed my post yesterday, here are the two other cards that I made for the release today. If you want to know what Copics I used, just scroll down to the previous post.


 Then I finished it off with some of my favorite SU ribbon and a heart button.
 Up next is Lily as a ballerina...
 Can you say A-D-O-R-A-B-L-E?!
 Then I printed out the sentiment onto the reverse side of the patterned paper and punched it out with a large oval punch.
 I really hope you like what I shared today. I had fun making them.