


For todays cards, I used this sketch by Amy.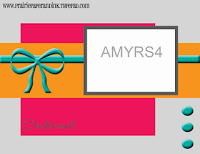 For the first one, I used an SU set called "Hip Hip Hooray" and a Fractured Funny by Hambo for the sentiment.
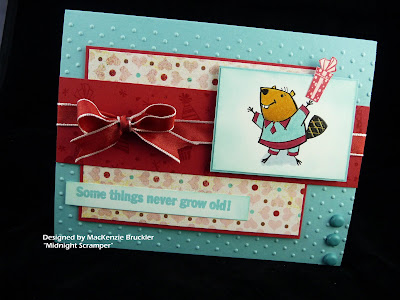 I ran the Baha Breeze base through my Swiss Dots embossing folder to get the raised background. Then I layered on some BasicGrey patterned paper and a strip of Riding Hood Red.
Here's the inside of the card with the other half of the "Fractured Funny"...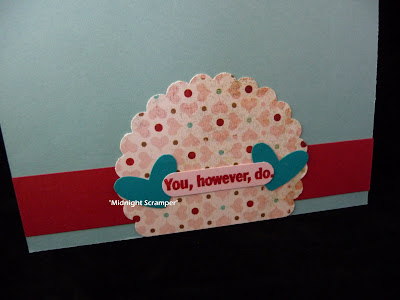
And since I was working with a sketch today, I also whipped up a Christmas card for my stash.
 See how the pieces of candy are layered on top of each other?
For that, I used the masking technique.
Here's how it's done...
First I stamped out my candy all over the cardstock being careful not to overlap any of the images.
 Next, I stamped several of the same image onto a Post-It note.
 Then I carefully cut them out just inside the border of the image.
These are your "masks".
 Now, layer them directly onto the stamped images on your cardstock.
 Now that the "masks" are on, stamp more candy onto the background.
 Then remove the "masks" and your images will be layered.

I re-used the same "masks" and continued until my cardstock was full.
 Once all of my images were stamped out, I colored over them with a clear Sakura glaze pen to make them look shiny. On the photo below you can see the difference it makes. The top section has been colored with the glaze pen and the bottom half hasn't.
 Here they are all done.
 And here's another photo of the finished card.
 Hope that was helpful. If you try it out, send me a link.
I'll be back tomorrow with a new recipe to Fool Your Family.
Until then...

 For the first one, I used an SU set called "Hip Hip Hooray" and a Fractured Funny by Hambo for the sentiment. I ran the Baha Breeze base through my Swiss Dots embossing folder to get the raised background. Then I layered on some BasicGrey patterned paper and a strip of Riding Hood Red.
Here's the inside of the card with the other half of the "Fractured Funny"...

And since I was working with a sketch today, I also whipped up a Christmas card for my stash.
 See how the pieces of candy are layered on top of each other?
For that, I used the masking technique.
Here's how it's done...
First I stamped out my candy all over the cardstock being careful not to overlap any of the images.
 Next, I stamped several of the same image onto a Post-It note.
 Then I carefully cut them out just inside the border of the image.
These are your "masks".
 Now, layer them directly onto the stamped images on your cardstock.
 Now that the "masks" are on, stamp more candy onto the background.
 Then remove the "masks" and your images will be layered.
I re-used the same "masks" and continued until my cardstock was full.
 Once all of my images were stamped out, I colored over them with a clear Sakura glaze pen to make them look shiny. On the photo below you can see the difference it makes. The top section has been colored with the glaze pen and the bottom half hasn't.
 Here they are all done.
 And here's another photo of the finished card.
 Hope that was helpful. If you try it out, send me a link.
I'll be back tomorrow with a new recipe to Fool Your Family.
Until then...


1 comment:
like the touch of glaze and nifty bows. Hopefully one of these summer days I will start some Christmas cards!
Post a Comment