Followers

Showing posts with label Pink Cat Studio - digital. Show all posts

Thursday, October 4, 2012

Pink Cat Studio Digi Release Day!

Pink Cat Studio is back today with a fun new release for Halloween!

These little guys are just too cute and headed for a sugar coma.  They're called "Sugar Crazy Frogs " and you can find them right here.
I started with a 5" black base and used patterns from BasicGrey.
After I finished coloring my image with Copics, I used a black Sakura glaze pen on the Jack-O-Lantern face and handle.
Then I used a clear glaze pen on the rest of the pumpkin to make it look like plastic. 
The layout was inspired by Mojo Monday sketch #261 and used some black felt ribbon and loads of orange pearls as embellishments.
I finished it off with a die cut sentiment and some candies.
These are the Copics that I used...
This is the first card I've made in months and it was so great to get back in my workshop!  I absolutely adore the Halloween images by Pink Cat Studio!  Every single one.
You can check out the entire PCS Halloween collection and new release images right here.

Oh, and how about a couple of freebies?!

"Frog Wizard" is free with ANY purchase today only...


And "Frog Pumpkin Head" is free just for reading my post today!
Click here and go to the digital store to download.

Thanks so much for stopping by!

Tuesday, April 3, 2012

Pink Cat Digital Release Day

In celebration of the release of Melissa's fun new game, she's got a digi release full of cuteness!

And there's a FREEBIE available today only with any purchase from the digi store!
Here are a few goodies I made with the new images.

Last week was Teacher Appreciation Week at school and I was in charge of "flower day".  Each kiddo brought in a flower for the teacher and I collected them in a vase.  I saw some really cute ideas online and decided to whip up my own version that the teacher would be proud to display and reuse in the future. 
This fun little sun image was the perfect finishing touch for my big bow in front.

Here's how I made the flower pot display... 
I started with a $4 terra cotta pot and a pretty blue spraypaint.

After painting the pot, I placed a clear glass vase in the middle and added rocks to hold it in place.

Then I used liquid nails to attach my pencil banner that I made with the SU pennant punch.
Easy-Peasy and the teacher absolutely loved it!

Next up is Betty the Bubblebee Fairy... 
I used bright bold colors on this one and embellished with a jewel border and liquid pearls.  The sentiment is from the PCS set called "Lily at the Beach.

Here's a peek at the inside... 


My last sample today uses the Betty Ladybug Fairy image. 
She is just toooo cute!
This was the first card that I've made since NOVEMBER! 
That's it for me today!  Thanks for stopping by to check out the new release!  Be sure to hop on over to the PCS digi store and claim your freebie today!

Thursday, November 24, 2011

Pink Cat Digital Release Day!

Black Friday already, can you believe it?
Instead of stressing out with all of the crazies at the stores today, I'll be in my purple room stamping the day away.  Today Pink Cat Studio has a bunch of new digis available, and each one is cuter than the last!  Oh, and Melissa is doing another 50% off sale!

All of these cuties that are being released today are included in sale!

I'm really excited to share all of my samples with you, and I hope they inspire you to get some of these new digis and make something cute today!

First up is our ol' pal Blobby...
I couldn't resist....I had to cover him with yellow velvet flock. 
Now he's super soft and fuzzy - as every Blobby should be. 
Check out the new version of Lily! 
She's all grown up! 
I used an x-acto to cut a house shape out of Cherry Cobbler cardstock and then pierced around the border.
After adding some faux stitching with a white pen, I popped it up with dimensionals and finished it off with some twine. 

Don't celebrate Christmas?
No worries, Melissa has you covered!
Check out this Hanukkah cutie! 
I used some leftover alphabet stickers and chipboard and kept this one super simple. 

More cuties... 
Adorable, no? 
After I had my card put together with my fave color combo, I sprayed it with Frost Shimmer Spritz. 
I popped up parts of the image with dimensionals and added mini pearls to the hats. 
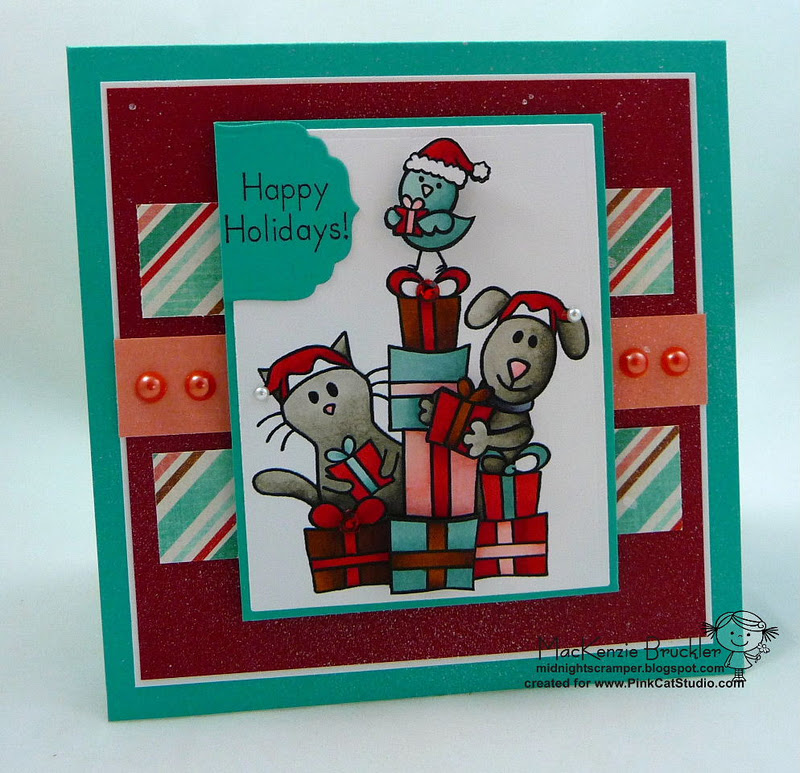
Even though this next image was created with the holidays in mind, I used it for another occasion. 
I originally made this card without a sentiment, but then needed a pet sympathy card for a loved one. 
I added a quick rub-on sentiment and then popped it in the mail. 
Still with me?
This is the last one - promise! 
Oh my gosh, I just love this image.  SO cute!
It's hard to tell from the photo, but I added pink velvet flock to the ear muffs and popped them up with dimensionals.  The sentiment was cut from some patterned paper and embellished with a few jewels. 
Okay, that's it for me today!
Thanks for taking the time to stop by and peek at my samples. Be sure to hop on over to PCS and get yourself some of these fun digis!  There's also a link over on the "new digi" page to a cute freebie! 

Monday, November 7, 2011

How to make a quilted background

I recently posted this card for a Pink Cat Studio release. 
When I was figuring out how I wanted to design the card, I knew that I wanted a simple layout and a white background.  I was totally inspired by a photo of a wedding cake in a magazine that had a a quilted design rolled onto the fondant.  It was so pretty and I thought I'd try to recreate it on paper.

I can't believe that I got it totally centered on the first try!  Don't you just love happy accidents?!
Here's a quick peek at how I did it... 
First, I cut my cardstock to 4.25" x 11", scored it down the middle.  (I always have the folded score line at the top of my cards).  Then I placed the bottom left of my card front into the 2.50" notch on my Scor-Pal and placed the other corner at the 5.50" mark on the right side of the Scor-Pal.  Starting at the 2.50" notch, I scored every half inch to the right and then to the left.
Clear as mud?

Then I turned the cardstock clockwise so the bottom right of the card front was at the 9.50" notch and the other corner was at 5.50" on the left side of the Scor-Pal.  Then I scored again every half inch.

This is what you'll have!
Perfectly centered perfection - love it! 
I decided to add some teeny tiny pearls for a bit of dimension at the points where the scor marks intersected.
Hope you're inspired to give it a try!
Thanks for hoppin' by today.