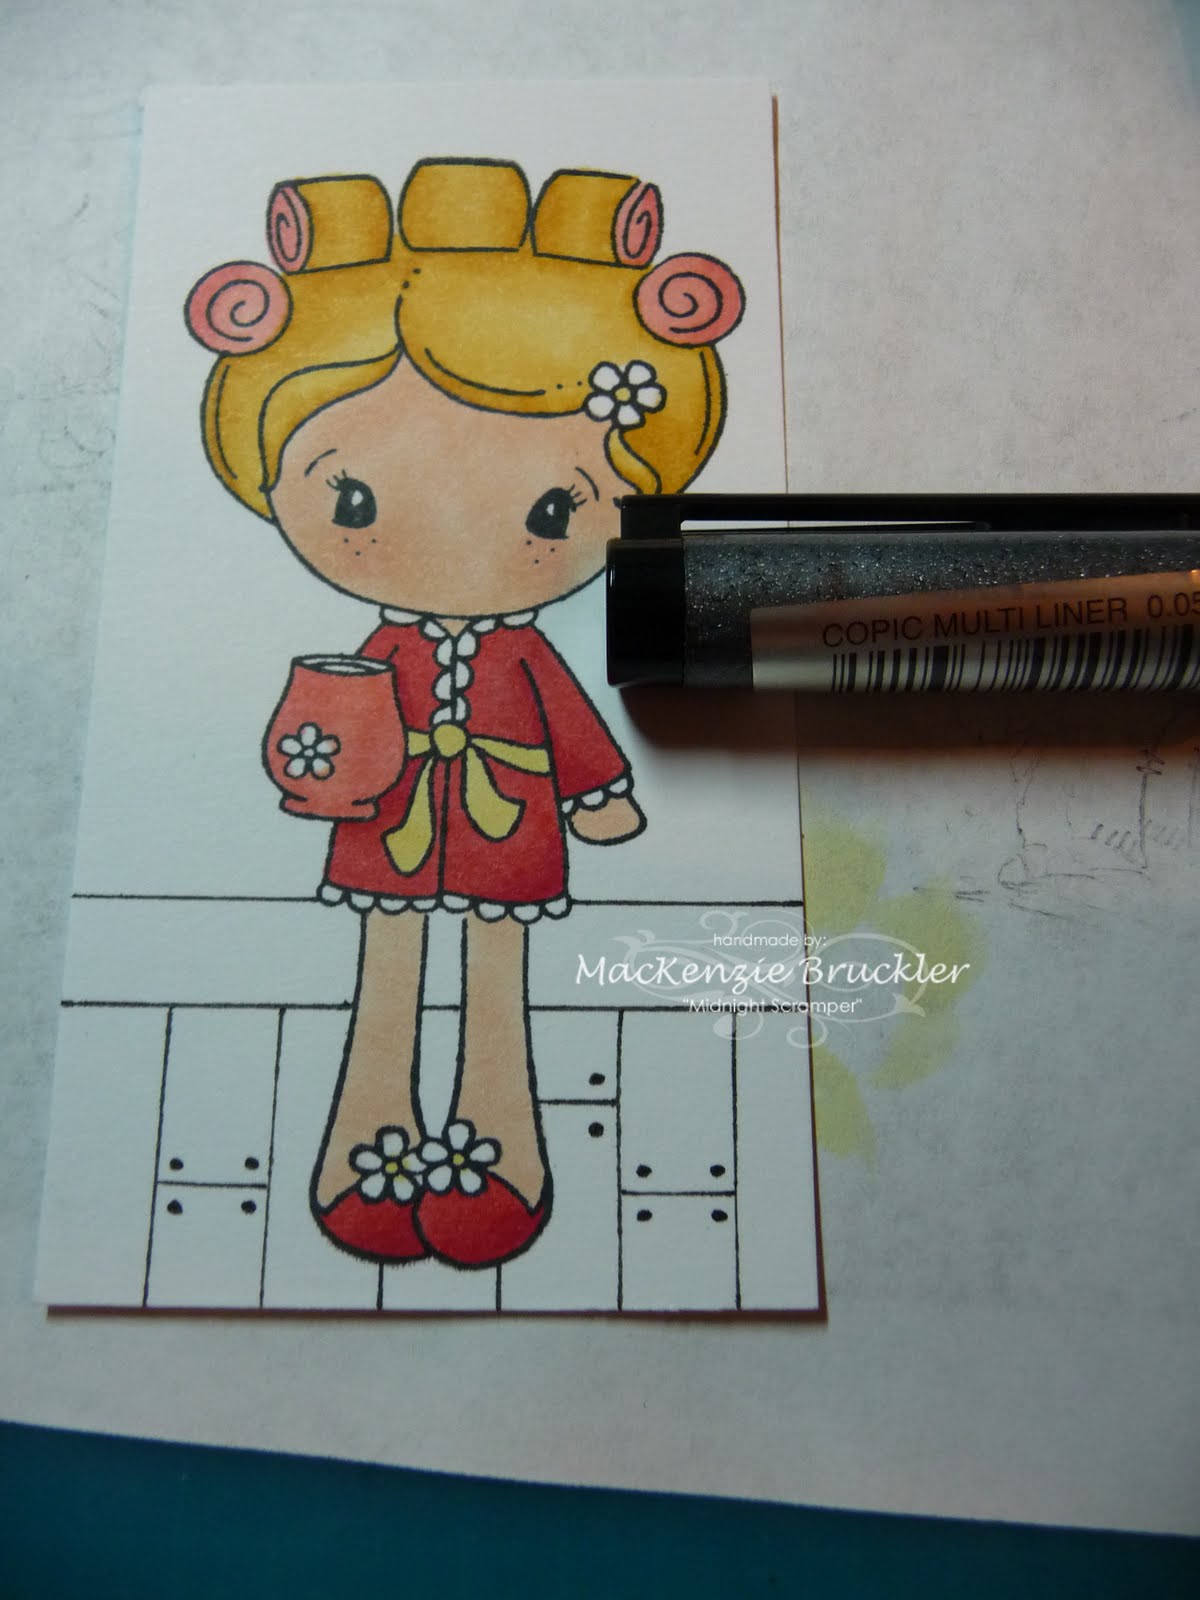
A little birdie told me that my mother-in-law is secretly hoping to get a pack of cards from me for Christmas. I was totally flattered and decided to whip up a batch just for her. Here's one that I came up with using a sweet image by CC Designs, called "Nurse Nora".

I love red, white and black together and that color combo was perfect for this image.

I used a glitter pen on her angel wings and then outlined the whole image with a pale blue Copic to make it *pop*.

When I was finished with this card, it was missing something, so I grabbed my favorite sharp implement, poked away, and drew in a quick cross stitch pattern with a black marker.
Voila! The perfect finishing touch!

Only six more days until Christmas!
I hope you're all enjoying this time of year with your families and friends.
Hugs,


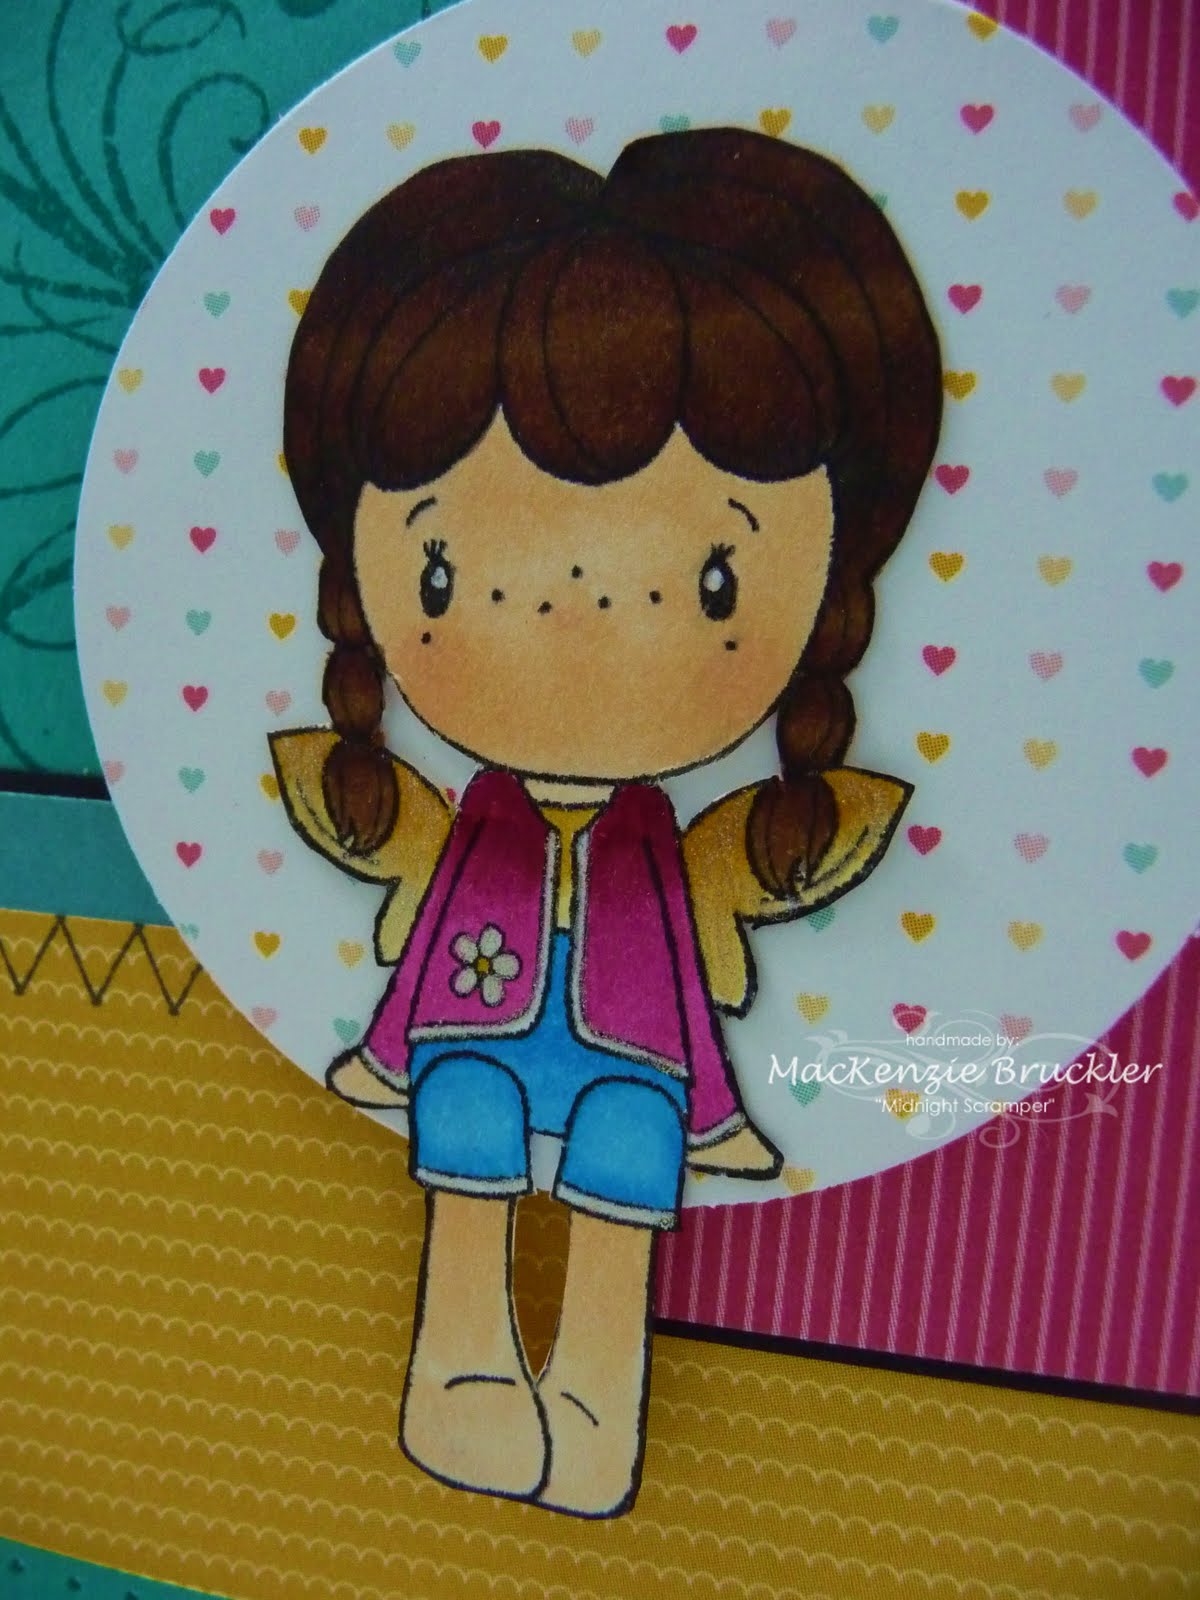


 Great pic isn't it?


 I've been working on my black hair technique and this image was great practice. To pull the whole card together, I used the pattern papers to paper piece her dress and socks.
 Such a fun pic to kick off the start of summer.


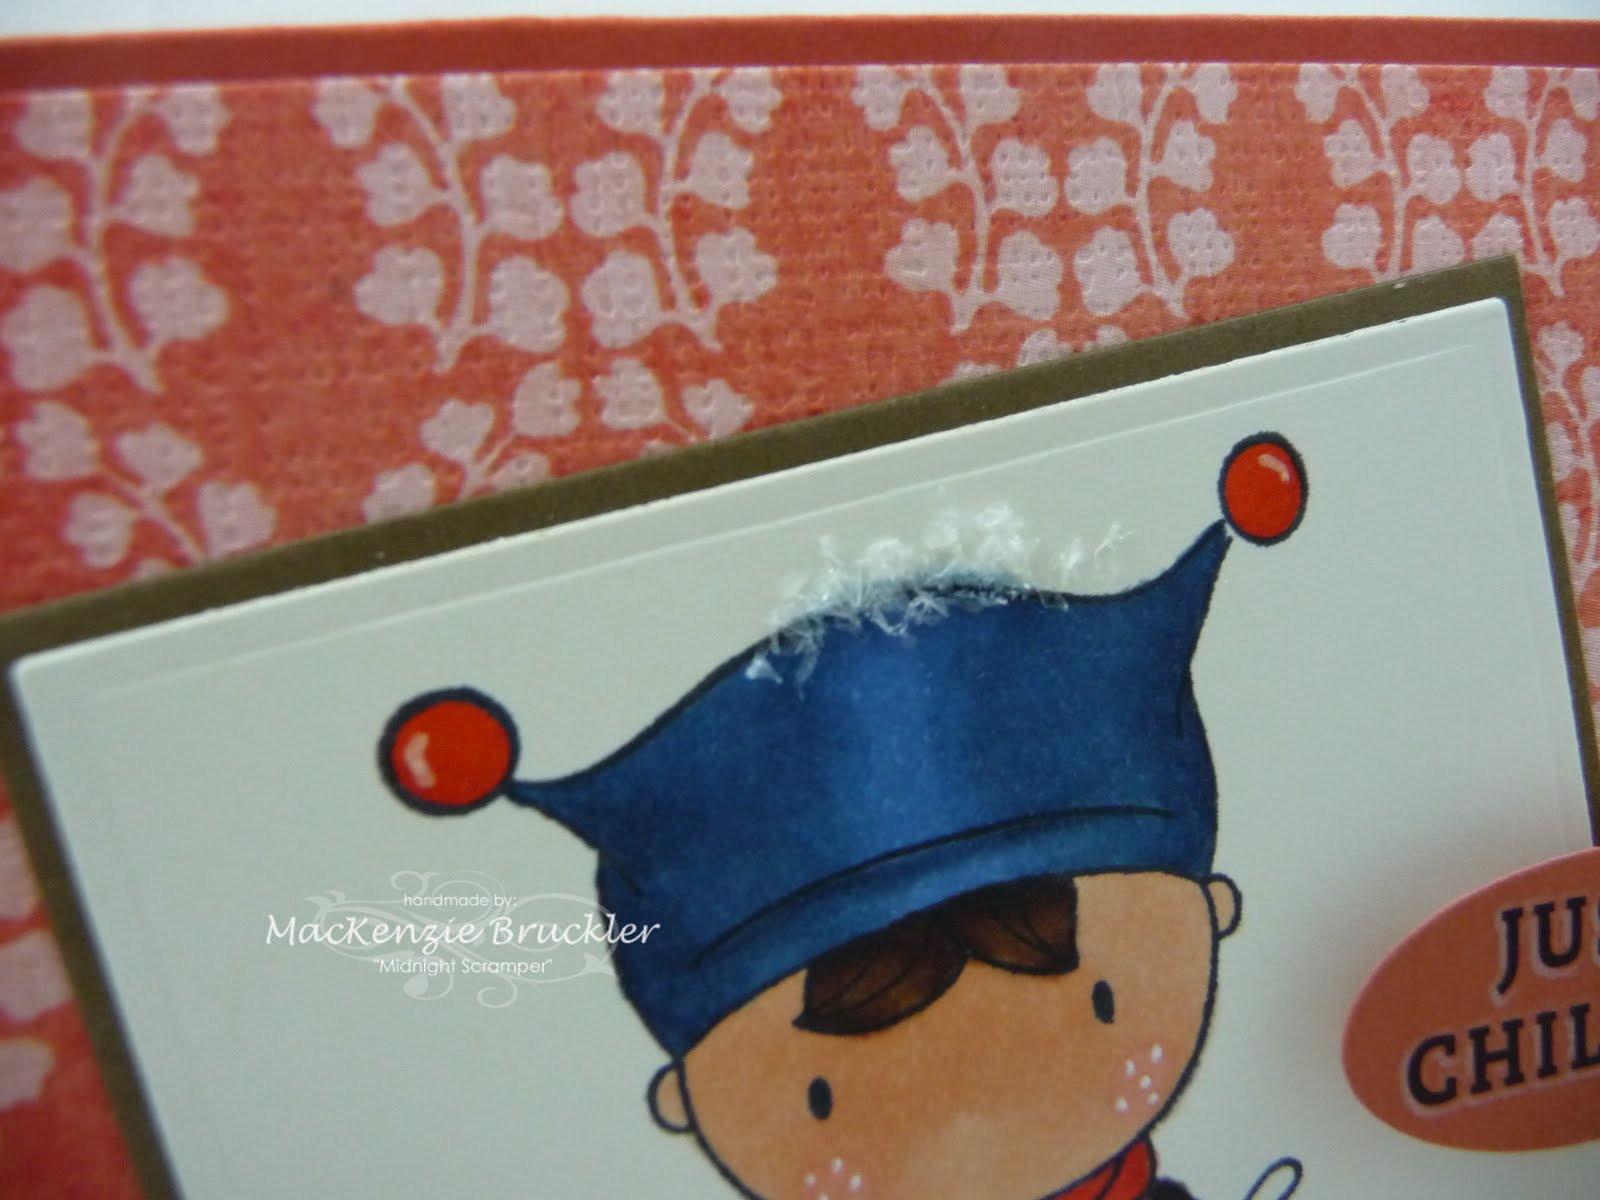
 It gives the same exact look of clear embossing powder without the messy powder and heat tool. This technique is perfect for todays challenge over on the


 Her name is